How I Setup My Electric Guitar
workflows music
A properly set up guitar ensures optimal sound, tone, look, feel and playability. This workflow serves more as a document to help me repeat the steps and for faster resource lookup in future setups. That being said, there is no novelty in setup processes here. Below are the steps to be followed, required tools and resources for this workflow
Table of contents
Polish the Frets
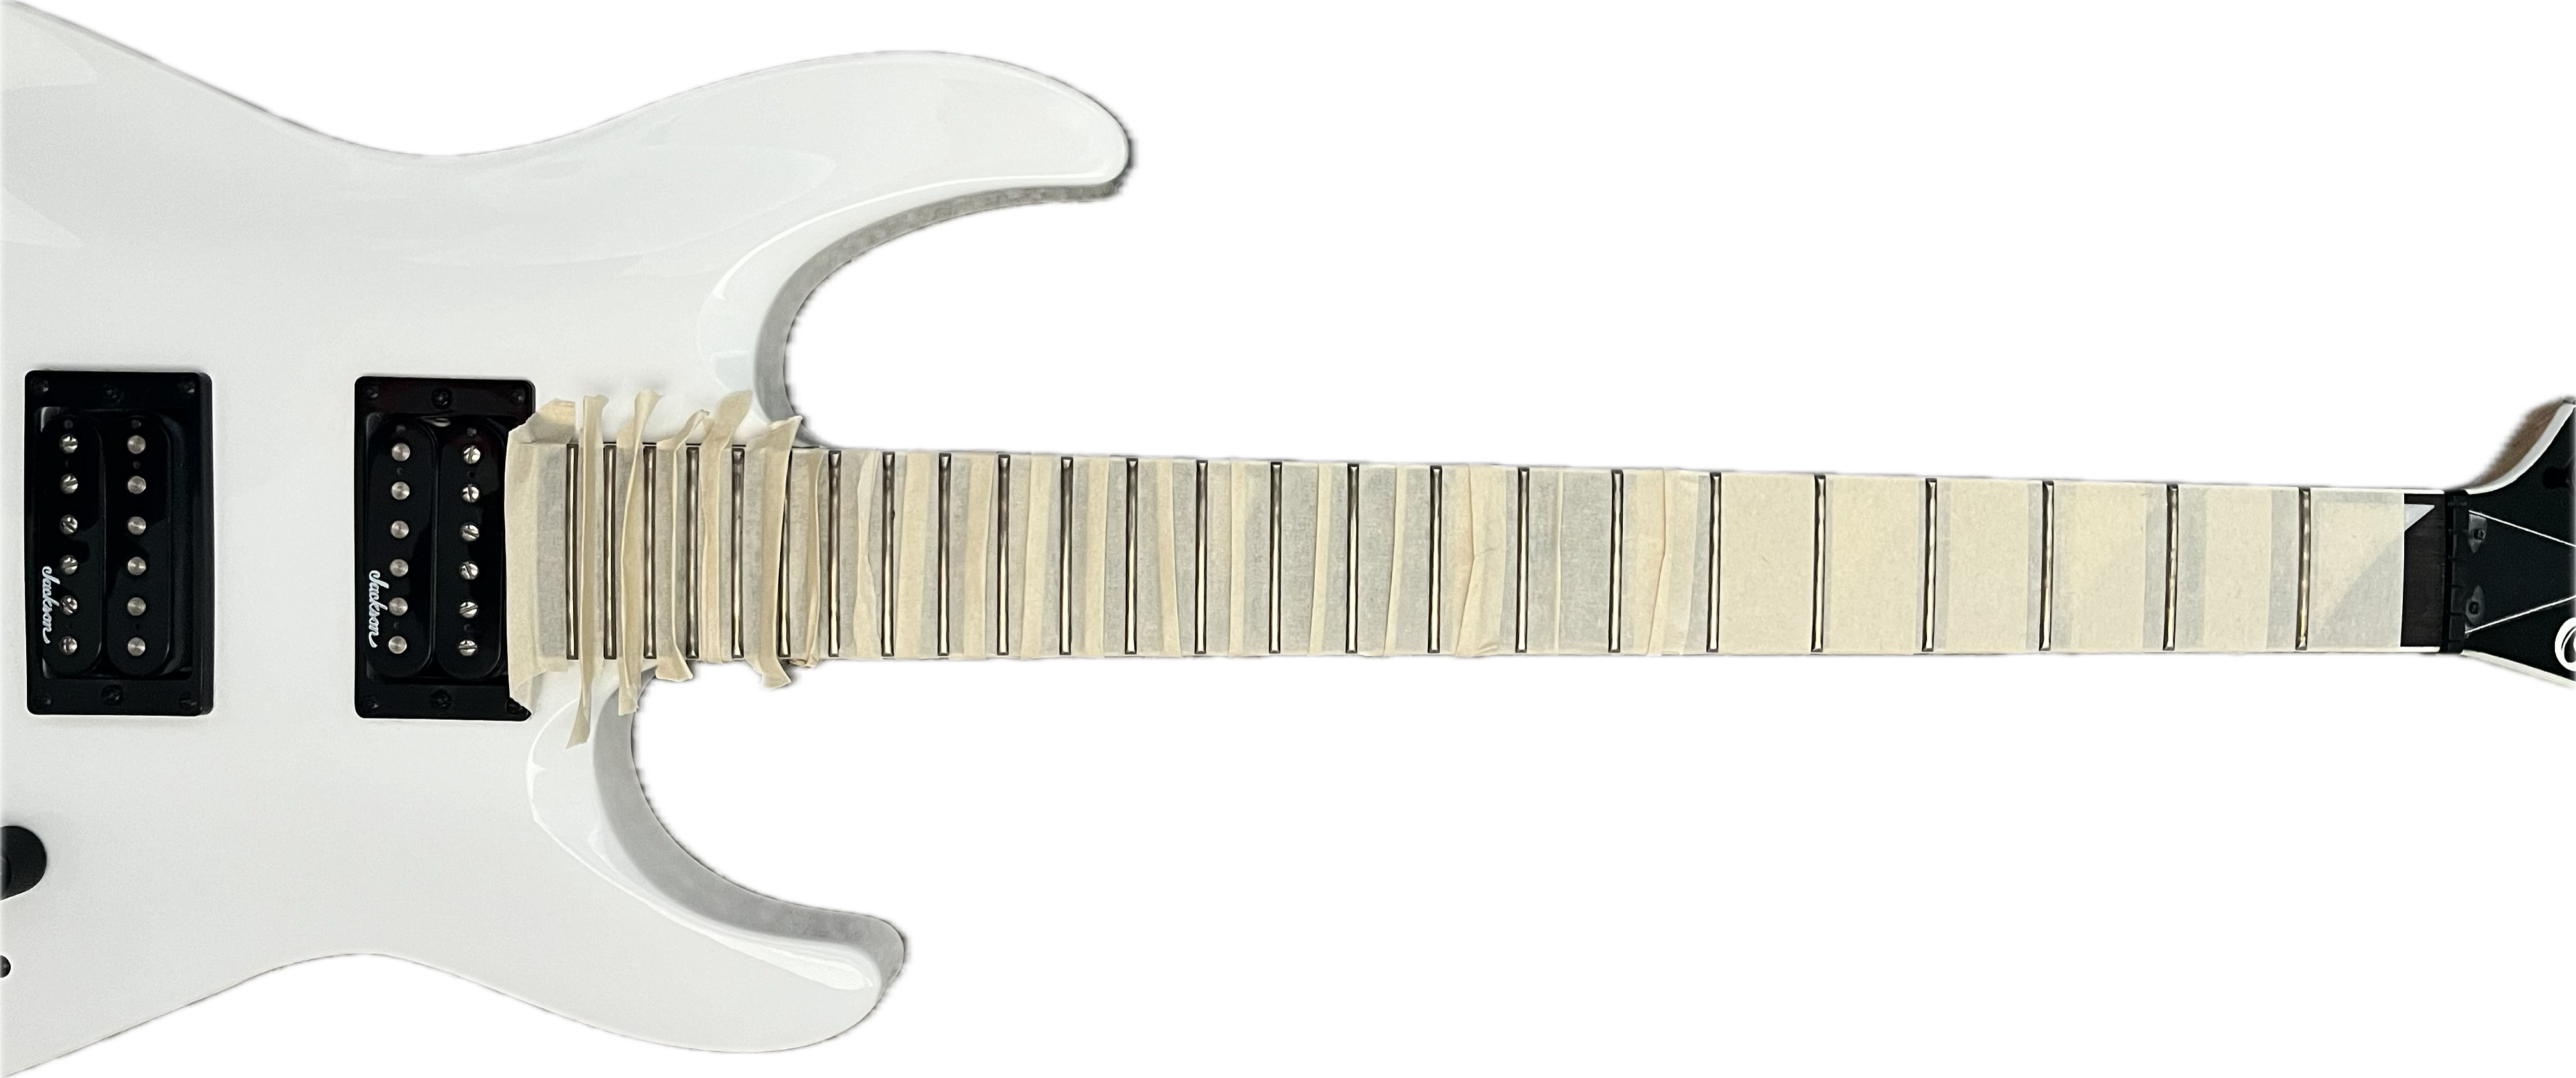
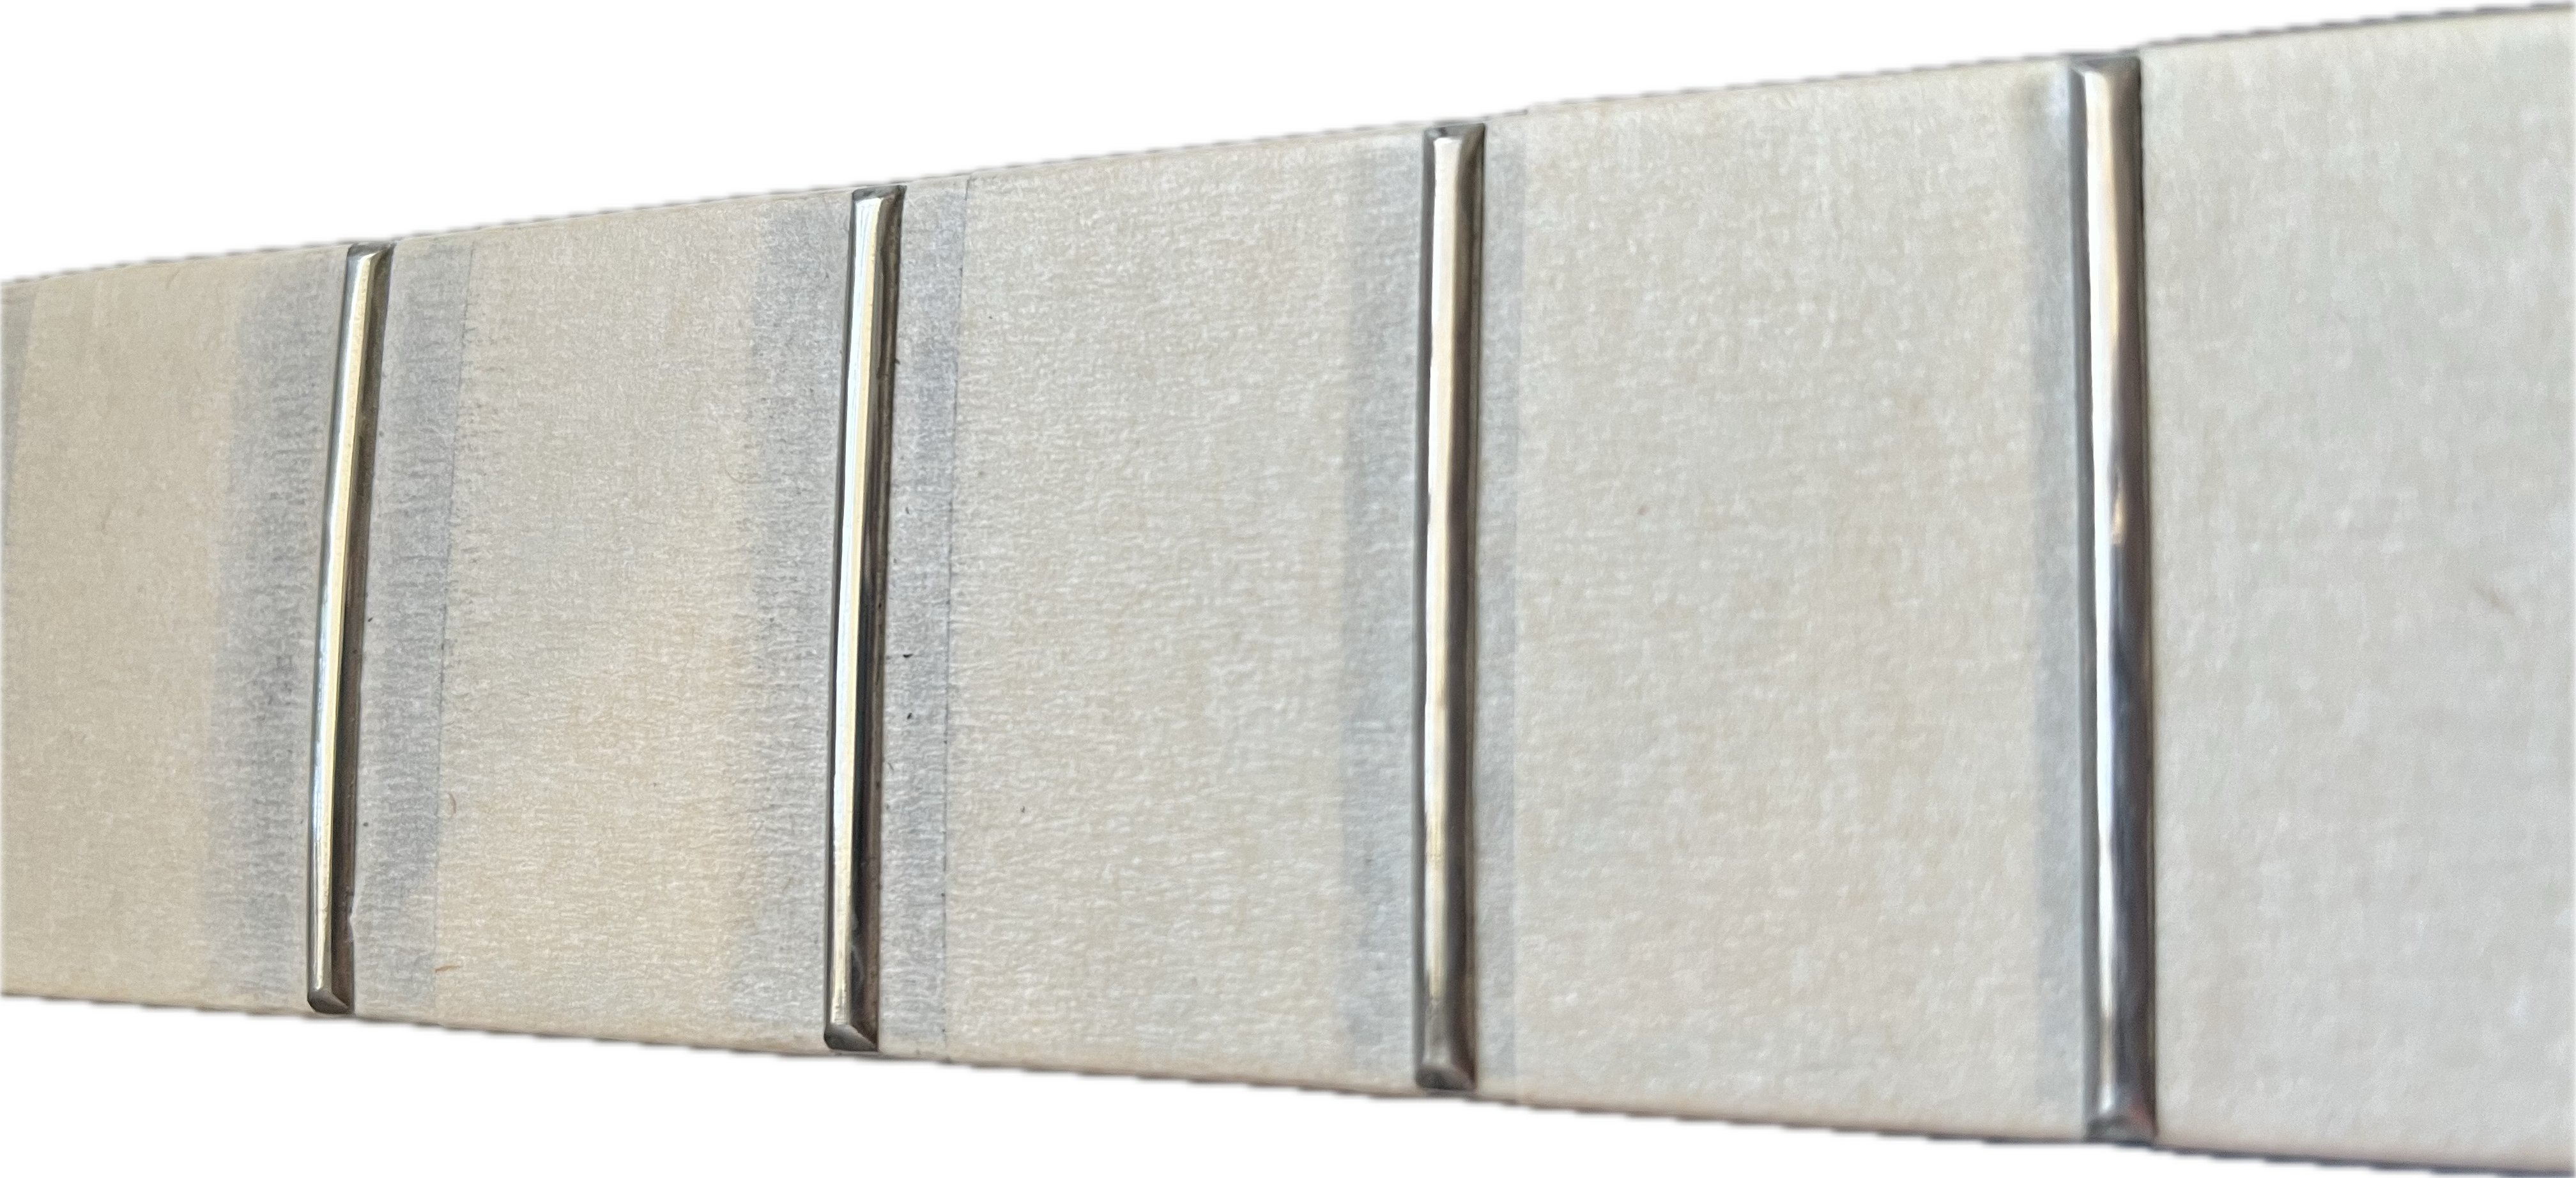
Polish the frets if they look dirty and if vibratos don’t feel smooth. I used the JIM DUNLOP 5410 Micro Fret Polishing Cloth, which is an 8000 grit microfiber cloth. Make sure to apply masking tape on the fretboard to not damage it while polishing.
 |
|---|
| Frets before polishing. |
 |
|---|
| Frets after polishing. |
Oil the Fingerboard
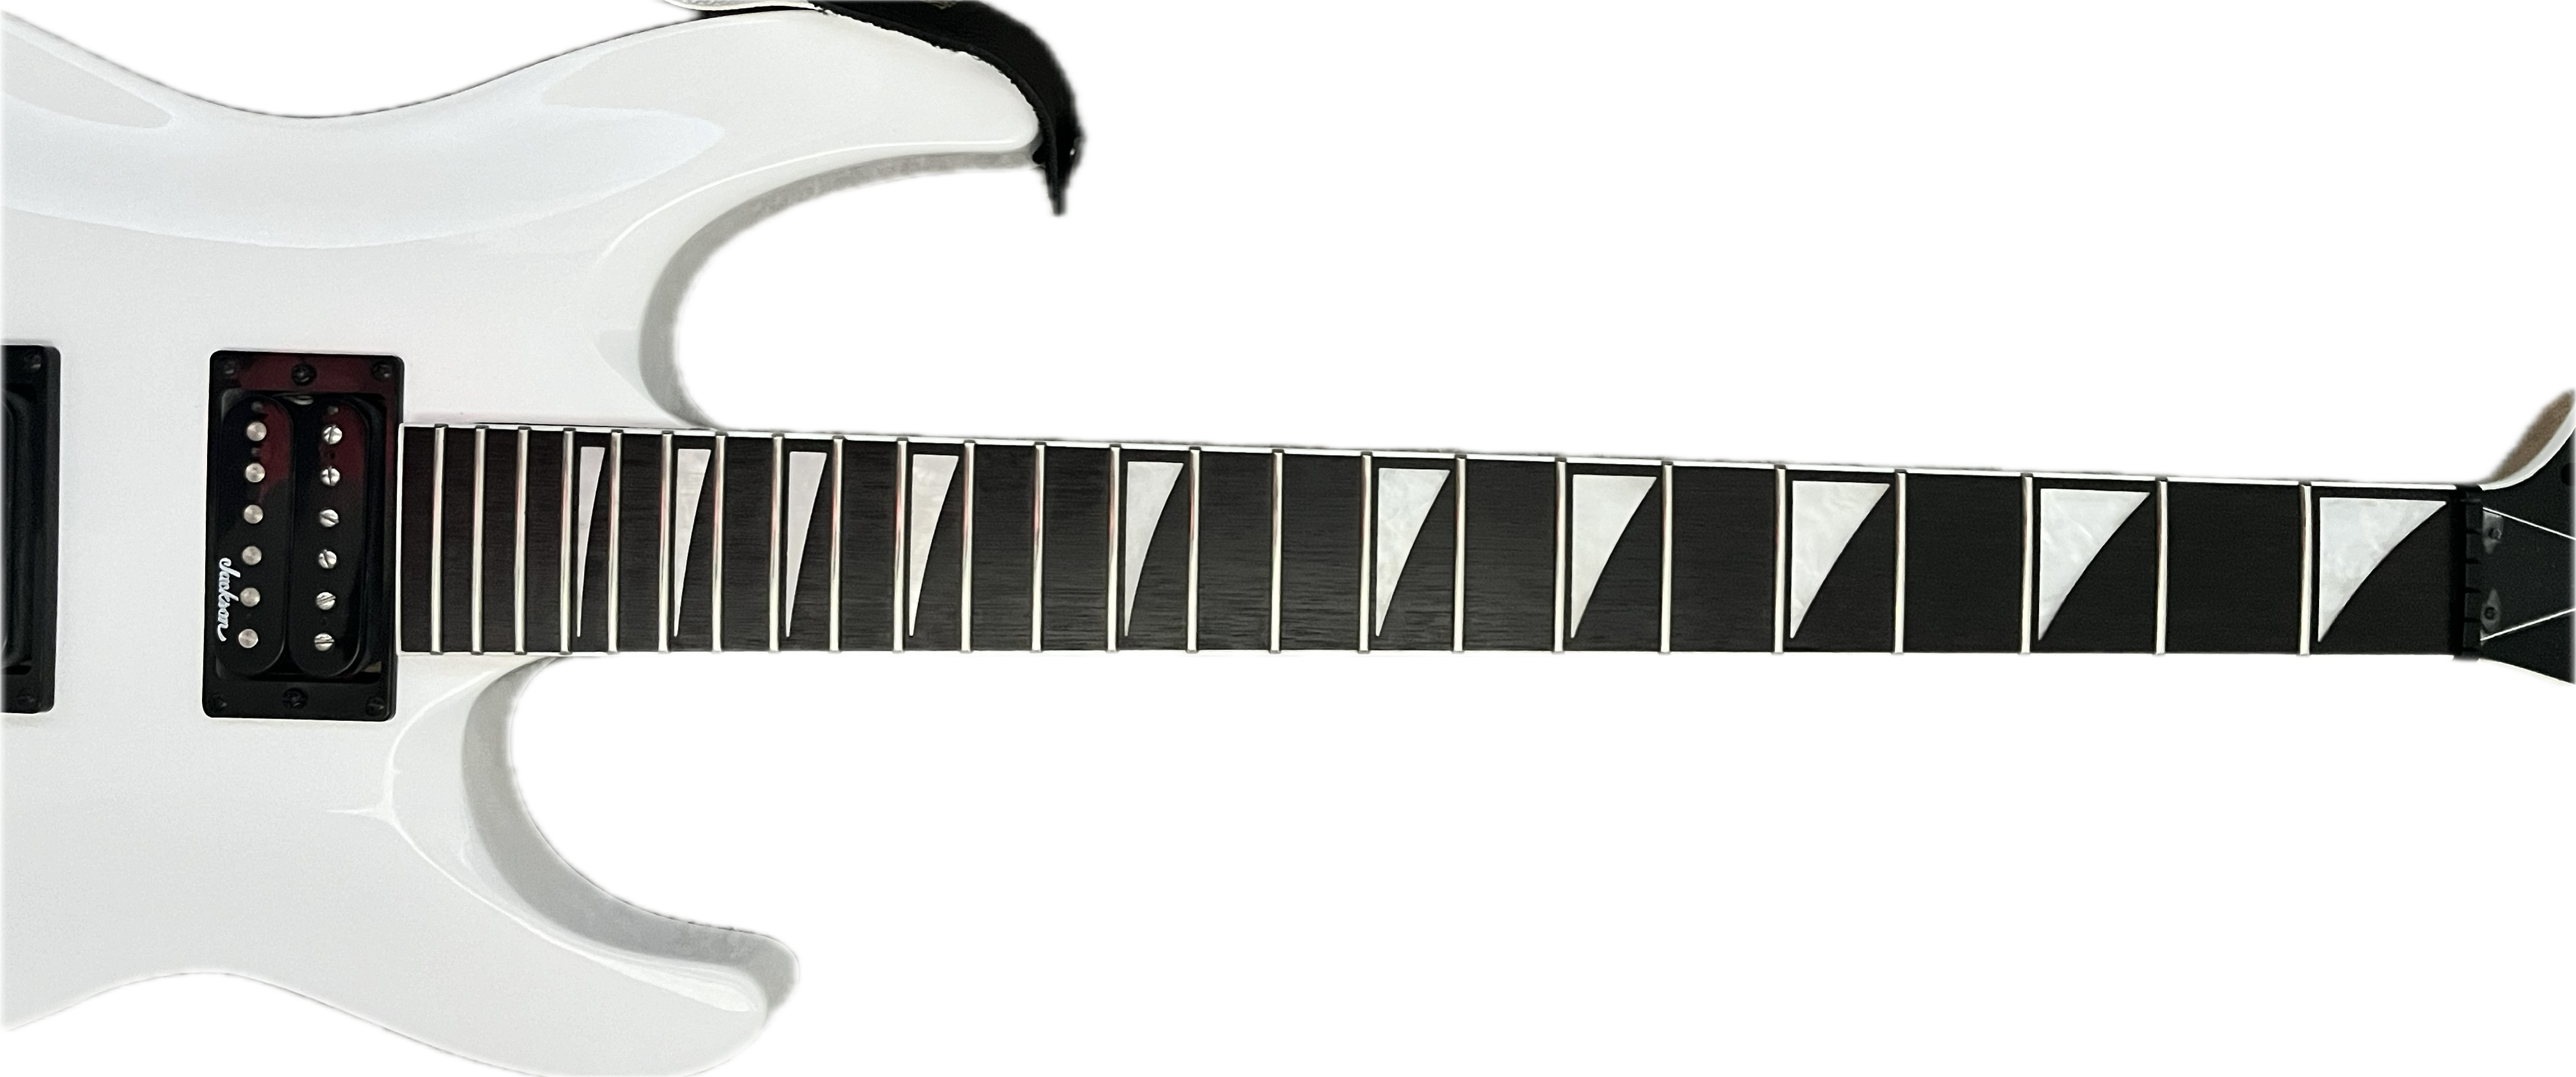
This will help to moisturize the fingerboard and make the wood look darker. I followed the detailed instructions in this section in the video.
 |
|---|
| Fingerboard after oiling. |
Restring
Change the old strings and restring the guitar. Tune the guitar to your preferred frequency and tuning.
Relief Setup
An Allen wrench (usually provided with the guitar) is required to adjust the truss rod. Refer to the instructions in this video
Action Setup
A string action gauge is required for this step. I have currently set up my action on the Low E string to 4/64” and that on the High E to 3/64”. The aforementioned string action is measured as the gap between the string and the 12th fret. Retune the string after adjusting action, test the changes and repeat until satisfied. Using a radius gauge allows for precise action setup for rest of the strings in the middle. Also, there are complex calculations to get the radius at the bridge for compound radius necks
To simplify things, in my current setup, the 2 bass strings were set to 4/64”, the 2 treble strings set to 3/64”, and the middle 2 strings were set between 3/64” and 4/64” (more towards 4/64”). This would automatically ensure an acceptable radius at the bridge. Also, note the trade-off between action and fret buzz, and set the action according to style of play
Intonation Setup
A screwdriver is the only additional tool required for this step. This tutorial concisely instructs on how to intonate the guitar.